Introduction
This tutorial will guide you through adding custom URLs to individual images in an Elementor gallery without the need for extra plugins. It works seamlessly with both the Basic Gallery widget and the Pro Gallery widget, making it suitable for users of all skill levels. With this straightforward guide, you’ll quickly master adding custom URLs to your Elementor galleries.
By default, Elementor only allows you to open individual images in a lightbox or link all images to a single custom URL. However, with this tutorial, you’ll be able to add links to individual images in the gallery.
You can check out a working example featuring both types of Elementor galleries here:
Add Your Gallery Widget
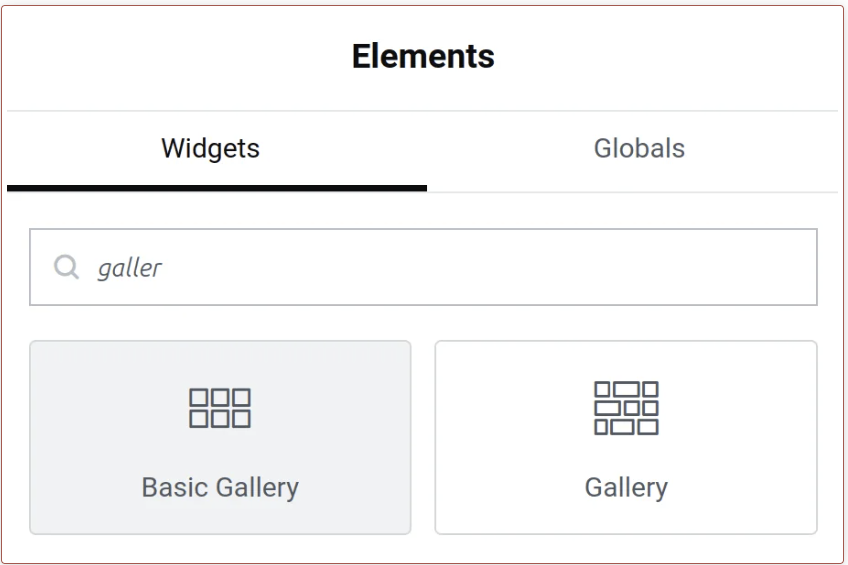
Start by adding your gallery widget and including the required images on the page. You can customize the aspect ratio of your gallery images by following this tutorial. You have the option to use either the Basic Gallery Widget or the Pro Gallery Widget.

Assign a CSS Class Name to the Widget
Edit your gallery widget, then go to Advanced > Layout > CSS Classes, and insert your chosen class name. For this example, we’ll use “bb-gallery–links”.

Set Gallery Link Type
Modify the Gallery widget under Content > Link.
For the Pro Gallery widget, set it to Custom URL.
For the Basic Gallery widget, set it to Media File.
Add a custom HTML Widget to the Page
We’ll use a custom JS snippet, so you can add an HTML widget to your page or use your preferred code snippets plugin. I like to use Elementor’s HTML widget.
Add Custom JS Snippet
Add this code to the HTML Element. Replace the links with your own.
					<script>
let bbGalleryLinks = (className, imgLinks, linkTitles) => {
    const galleryImages = document.querySelectorAll(className + " a");

    // Code to add links to gallery images
    for (let i = 0; i < imgLinks.length; i++) {
        if (imgLinks[i] !== "") {
            galleryImages[i].href = imgLinks[i];

            // Open link in new window
            // galleryImages[i].target = "_blank";

            // Additional loop to add aria-label to links for accessibility
            if (linkTitles[i] !== "") {
                galleryImages[i].setAttribute("aria-label", linkTitles[i]);
            } else {
                // Consider handling the case where linkTitles[i] is an empty string
                console.error("Link title is empty for image " + i);
            }
        }
    }
};
    </script>

document.addEventListener("DOMContentLoaded", function () {
    bbGalleryLinks(
        ".bb-gallery--links",
        [
            "https://www.benboonedoesit.com" ,
            "https://www.benboonedoesit.com" ,
            "https://www.benboonedoesit.com" ,
            "https://www.benboonedoesit.com" ,
        ],
        [
            "Benboonedoesit Home Page",
            "Benboonedoesit Home Page",
            "Benboonedoesit Home Page",
            "Benboonedoesit Home Page"
        ]
    );
Note:
The links work sequentially for each image in the gallery widget from left to right, top to bottom. If you want to skip any image in the sequence, simply add a blank “”.
If you Have Multiple Gallery Widgets
If you have multiple gallery widgets on your page, then you simply need to add a new class name e.g. bb-gallery2–links to your other gallery widget. Then, in your html widget, call the function bbGalleryLinks() again and pass in the new classname and links. As shown below
					 <script>
let bbGalleryLinks = (className, imgLinks, linkTitles) => {
    const galleryImages = document.querySelectorAll(className + " a");

    // Code to add links to gallery images
    for (let i = 0; i < imgLinks.length; i++) {
        if (imgLinks[i] !== "") {
            galleryImages[i].href = imgLinks[i];

            // Open link in new window
            // galleryImages[i].target = "_blank";

            // Additional loop to add aria-label to links for accessibility
            if (linkTitles[i] !== "") {
                galleryImages[i].setAttribute("aria-label", linkTitles[i]);
            } else {
                // Consider handling the case where linkTitles[i] is an empty string
                console.error("Link title is empty for image " + i);
            }
        }
    }
};

document.addEventListener("DOMContentLoaded", function () {
    // Add comments explaining the purpose of the code below

    // First Gallery Widget
    bbGalleryLinks(
        ".bb-gallery--links",
       [
"https://www.benboonedoesit.com",
"https://www.benboonedoesit.com",
"https://www.benboonedoesit.com",
"https://www.benboonedoesit.com"
        ],

         [
            "Benboonedoesit Home Page",
"Benboonedoesit Home Page",
"Benboonedoesit Home Page",
"Benboonedoesit Home Page”
]

    );

    // Second Gallery Widget
    bbGalleryLinks(
        ".bb-gallery2--links",
        [
"https://www.benboonedoesit.com",
"https://www.benboonedoesit.com",
"https://www.benboonedoesit.com",
"https://www.benboonedoesit.com"
        ],
        [
            "Benboonedoesit Home Page",
"Benboonedoesit Home Page",
"Benboonedoesit Home Page",
"Benboonedoesit Home Page”
 ]
    );
});

</script>


